
Ever wished you could edit your WooCommerce store emails? Now you can! Our new WooCommerce email customizer allows you to change the style of the template used for the order and shipping notification emails your store sends. 🎉
In this post, I’ll be showing you how to make the most out of this new feature. But if you’re interested to see how our editing solution shapes up in comparison to other WooCommerce email customizers, I recommend checking out this post, too.
There’s just one thing you’ll need to make sure you have ready… an active MailPoet account! If you haven’t got one already, you can install it for free using the link below.
Here’s what I’ll be covering:
- Enabling the WooCommerce email customizer
- Exploring the interface
- Customizing your WooCommerce emails
- Editing your WooCommerce email copy
Step 1: Enabling the WooCommerce email customizer
Before you can start adding your branding and styling your WooCommerce emails, you’ll first need to activate the editor. To do so, from your WordPress dashboard go to MailPoet > Settings > WooCommerce.
Once you’re there, check the “Use MailPoet to customize your WooCommerce emails” box and then save your settings. Then you’ll be ready to click “Open template editor”.

Step 2: Exploring the interface
One template for all
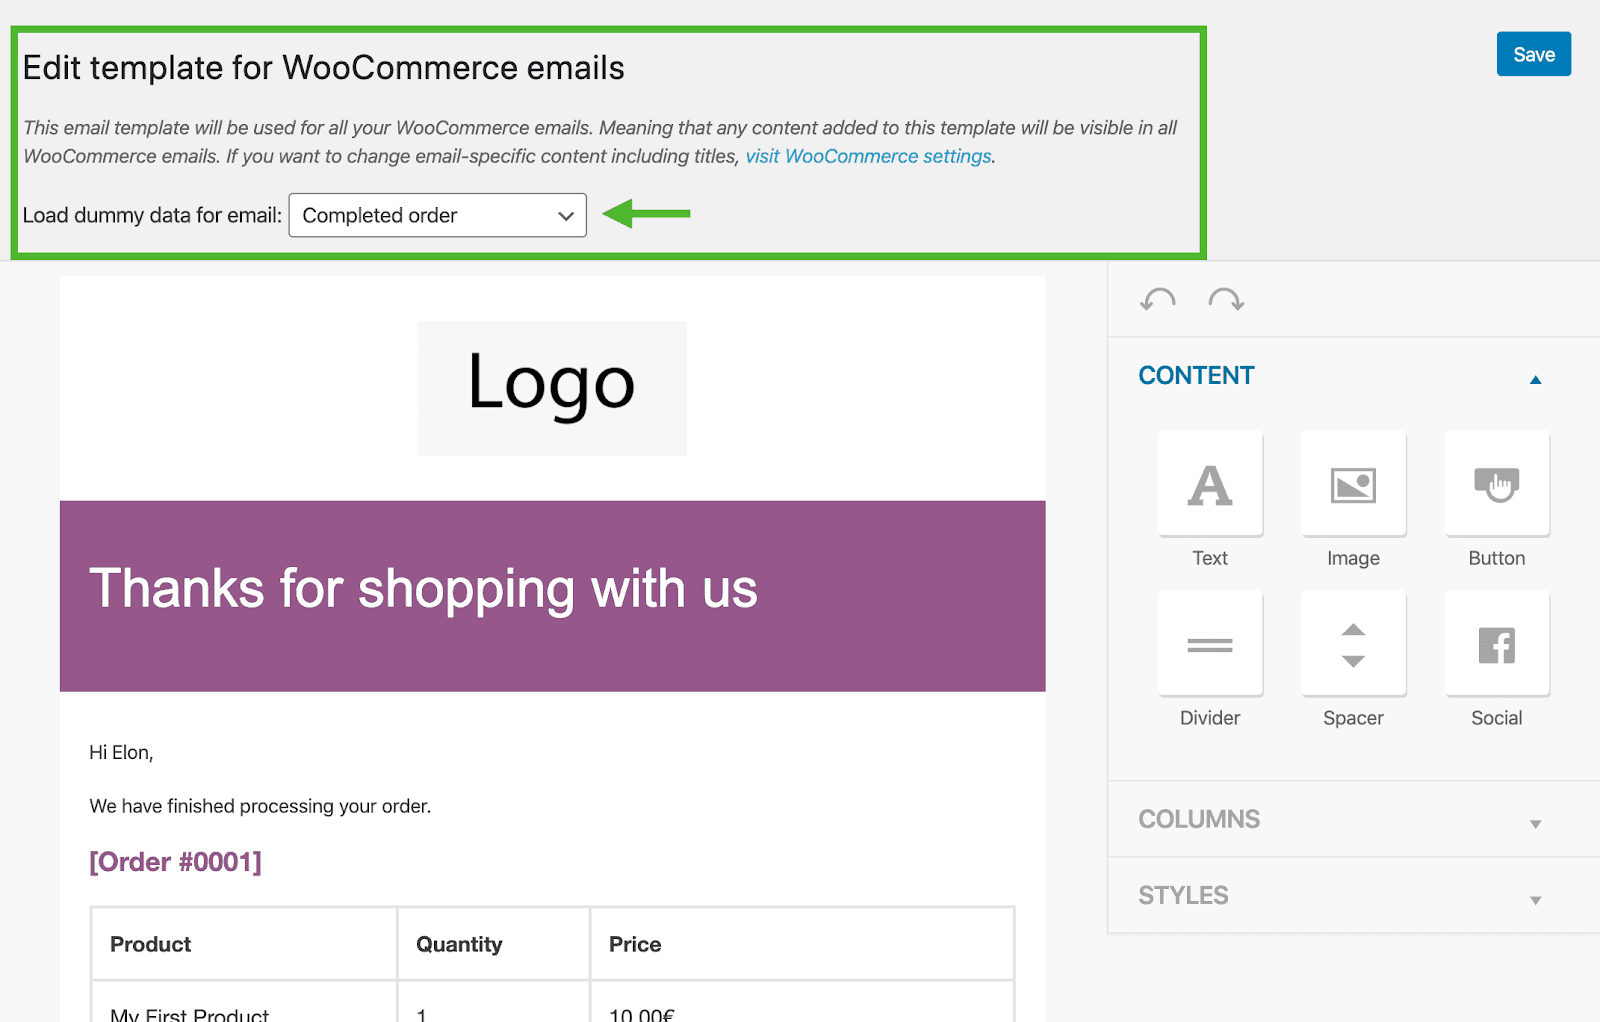
One of the first things you’ll notice in the customizer is this notice at the top of the screen.
It’s important to note that the design you create in the customizer will be applied to all of your WooCommerce store emails. This is a real time-saver but is something to bear in mind if you had planned on using unique design elements for each.
If you need to edit each of them, then check out our listicle for alternative solutions.
If you’d like to see how your efforts look in each of the WooCommerce store email types, you can do so via the dropdown indicated above. Here you’ll be able to see previews of the following emails:
- New Account
- Processing Order
- Completed Order
- Customer Note
Dummy data is loaded in each, so it’s perfect for checking how your styling will look “in action”.
The drag-and-drop editor
If you’re already a regular user of MailPoet, you’ll recognize the email editor as being the same one you’ve been using to create your newsletters or marketing emails.
Not so familiar? That’s ok! I’ll provide a brief explanation of how it works, now.
Feel free to skip ahead if you’re already a MailPoet master.
The editor is made up of three sections; “Content”, “Columns”, and “Styles”. Within the Content area, you’ll find widgets that you can drag-and-drop into your email template, in order to create the store email of your dreams. These are:
- Text — the text widget allows you to use a WYSIWYG editor to enter text giving the ability to change text colors, alignment, and more.
- Image — the image widget allows you to add an image from your WordPress media library (or upload one) and then use this within your email. Also perfect for adding a logo!
- Button — the button widget is the hero of any marketers toolbox allowing you to create colorful call to actions (CTAs) quickly, and easily.
- Divider — the divider widget allows you to add a horizontal divide within your email giving a visual representation of where content ends and new content begins.
- Spacer — the spacer widget allows you to create vertical space between your other MailPoet widgets. You’d use this rather than empty paragraphs to create spacing within your email.
- Social — the social widget gives you the option to add social icons to your email linking them to your social media presence on said platforms.
To use them in your template, simply drag and drop them into position, like so:
Columns can be added in exactly the same way as the content widgets. They’ll allow you to change the way your content sits in your email; giving you more power to create templates that fit your brand perfectly.
I’ll be touching on Styles in more detail shortly, but to quickly summarize, the options in this area will enable you to change the color of the global and content background, as well as change the font color and type.
Step 3. Customizing your WooCommerce emails
Now that you’re familiar with how the editor works, it’s onto the fun part – customizing your WooCommerce email templates!
In this section, I’ll be showing you some basic customization options and ideas. But the world really is your oyster, and we encourage you to share your creations with us on Twitter. We love to see the fantastic designs our users come up with.
However, in saying that, there are a couple of limitations. The header section and primary content area are autogenerated by WooCommerce, and therefore cannot be edited using MailPoet. Some styling is still available, but you won’t be able to have as much control over these areas as you are the rest of the email.
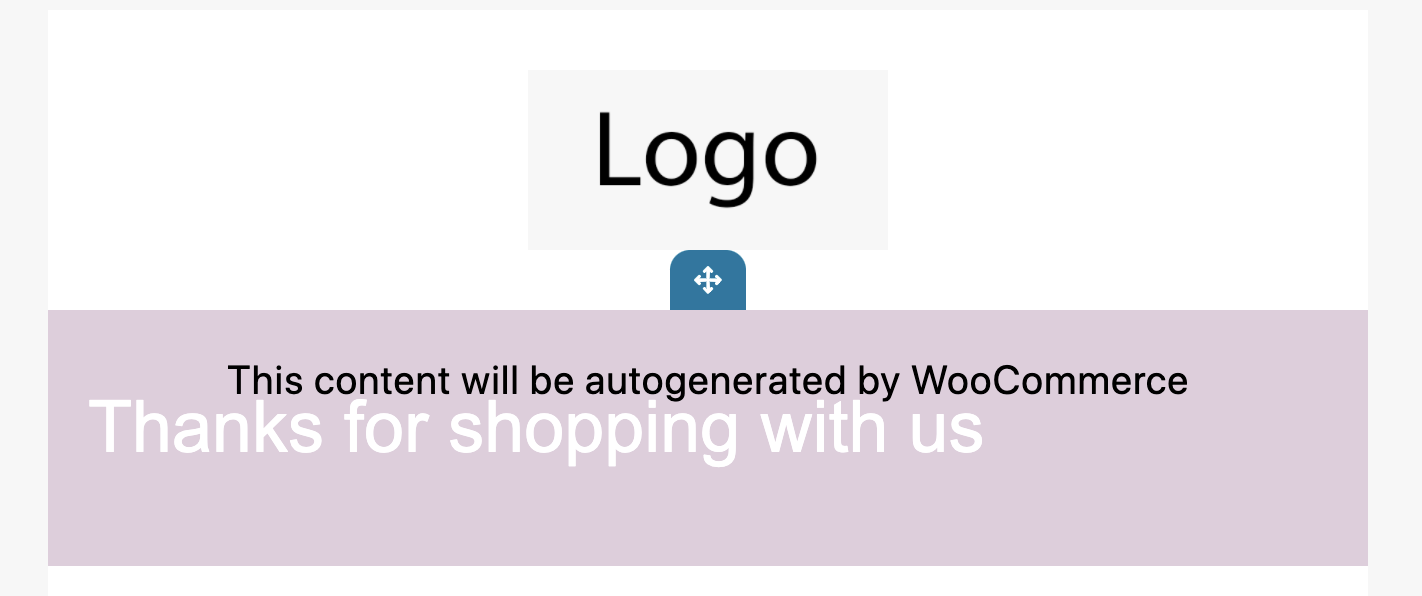
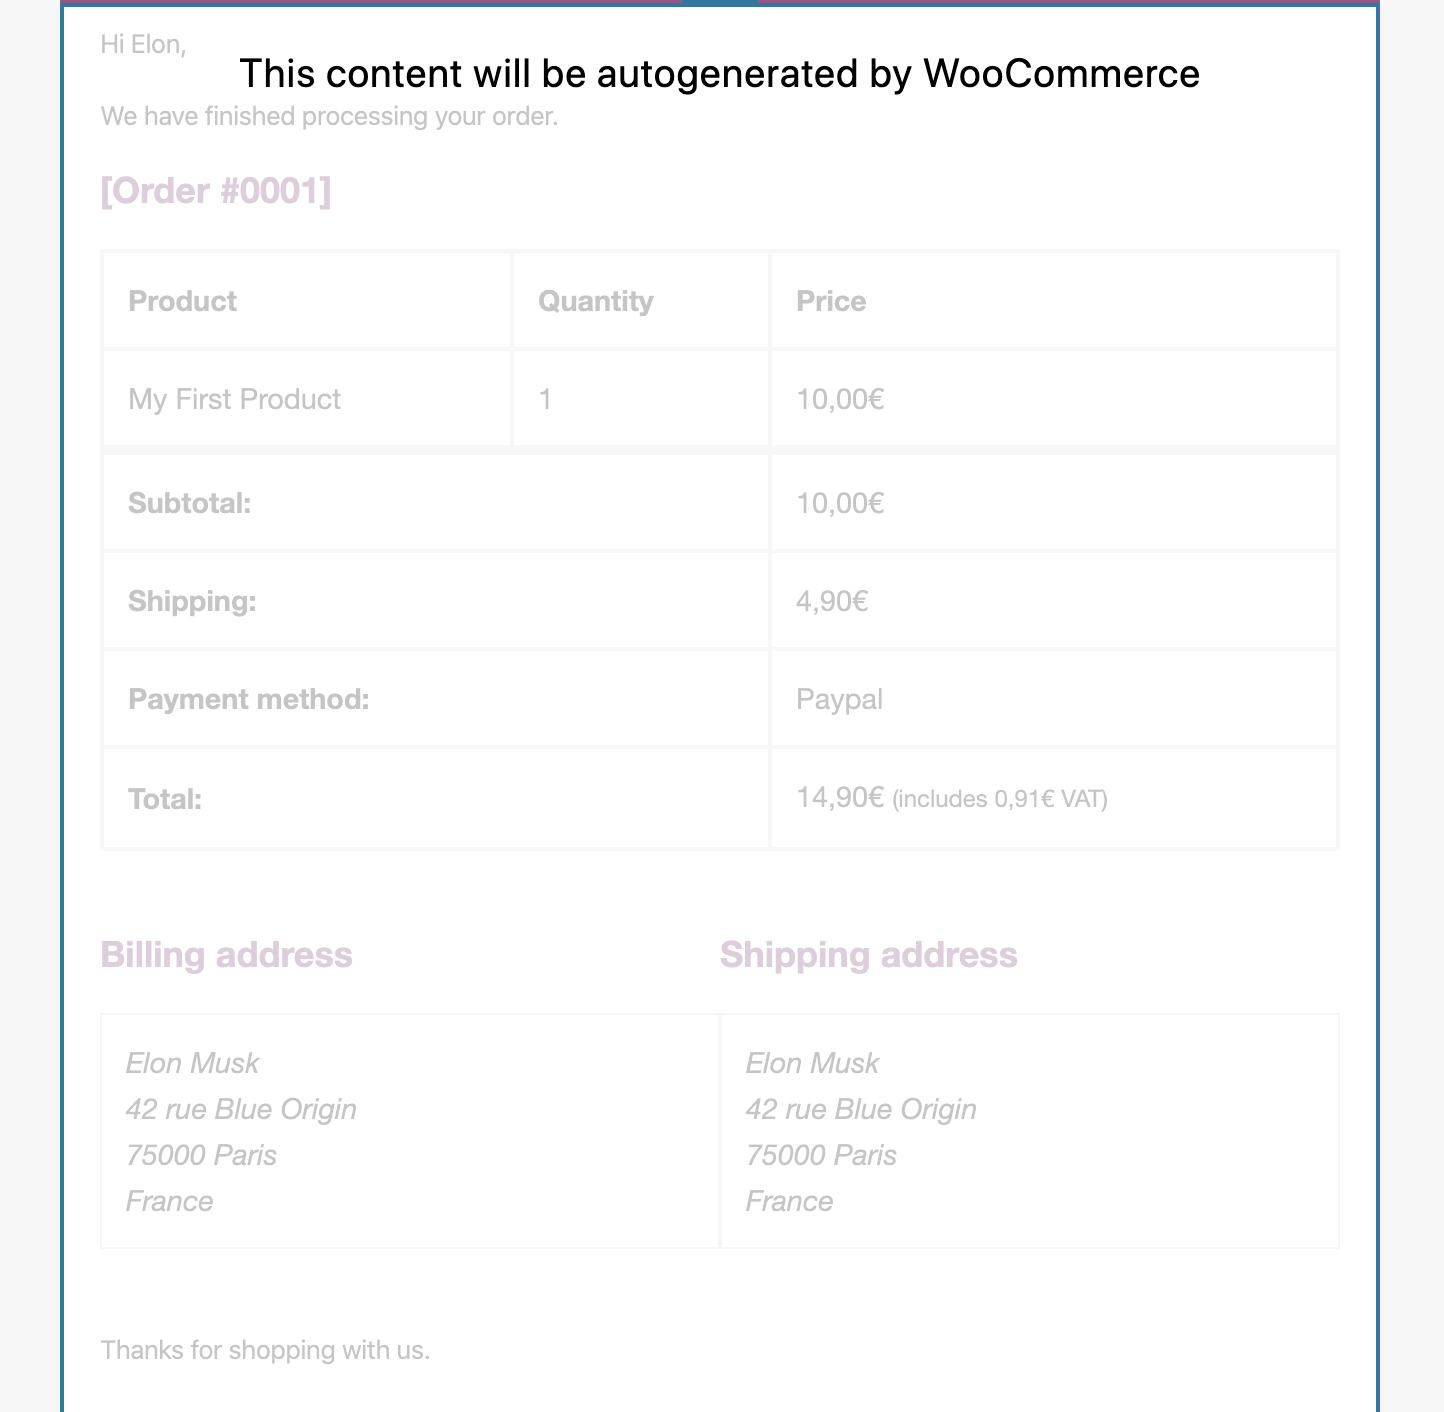
So where can you edit? You can customize the areas above and below both the header and the primary content area. What’s more, some of the copy in the primary content area is also editable within WooCommerce (more on this later), so you still have a decent amount of space to work with.
I’m going to start the transformation by adding our logo. Luckily, the MailPoet WooCommerce email customizer already comes with a handy logo placeholder that I just need to click on to add my own.
That’s getting better, but it’s still looking a little…purple.
Using the “Styles” tab I can rectify this by adding the exact shade of orange used in our branding.
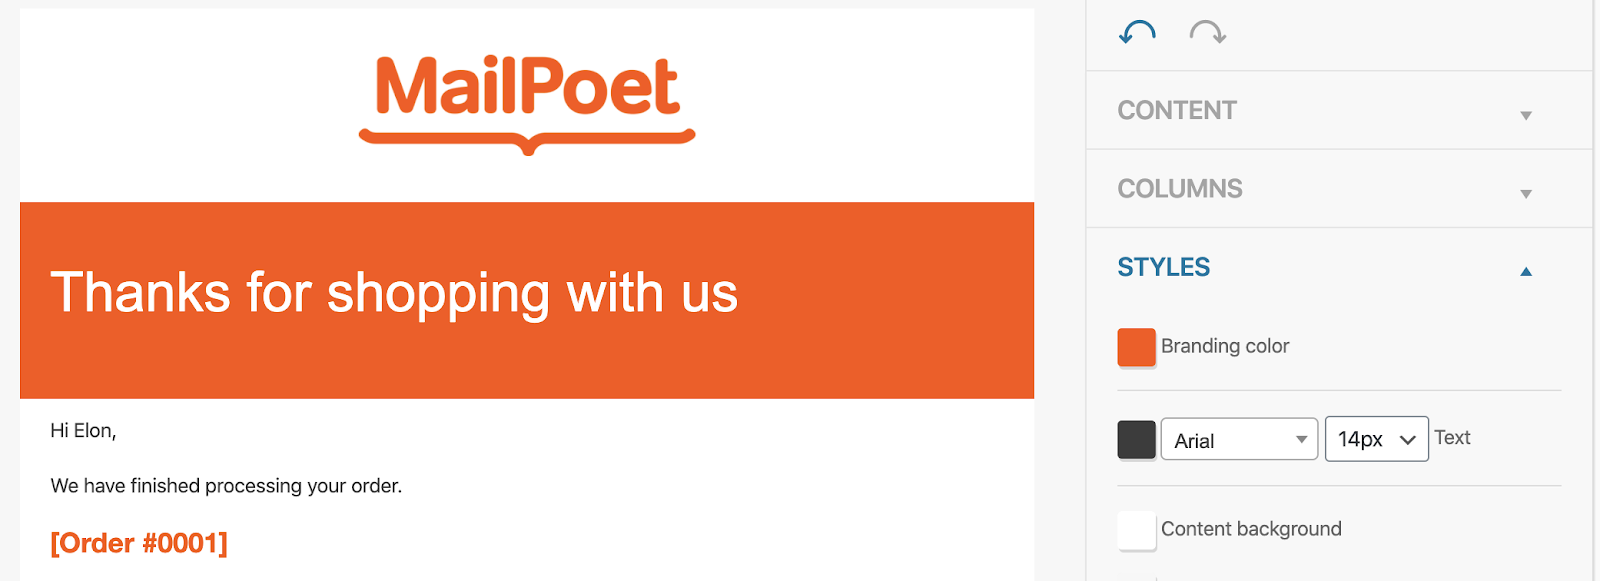
Ta-da 🎉. That’s more like it! Note how this option has also changed the color used to highlight the order number automatically, making it super easy to keep the whole of your email looking on-brand.
Now it’s time to add some imagery. This is a great opportunity to add some brand personality to your emails and is also a pretty nifty way of showcasing your range of products.
In this example, I’m using one of the illustrations used on our website.
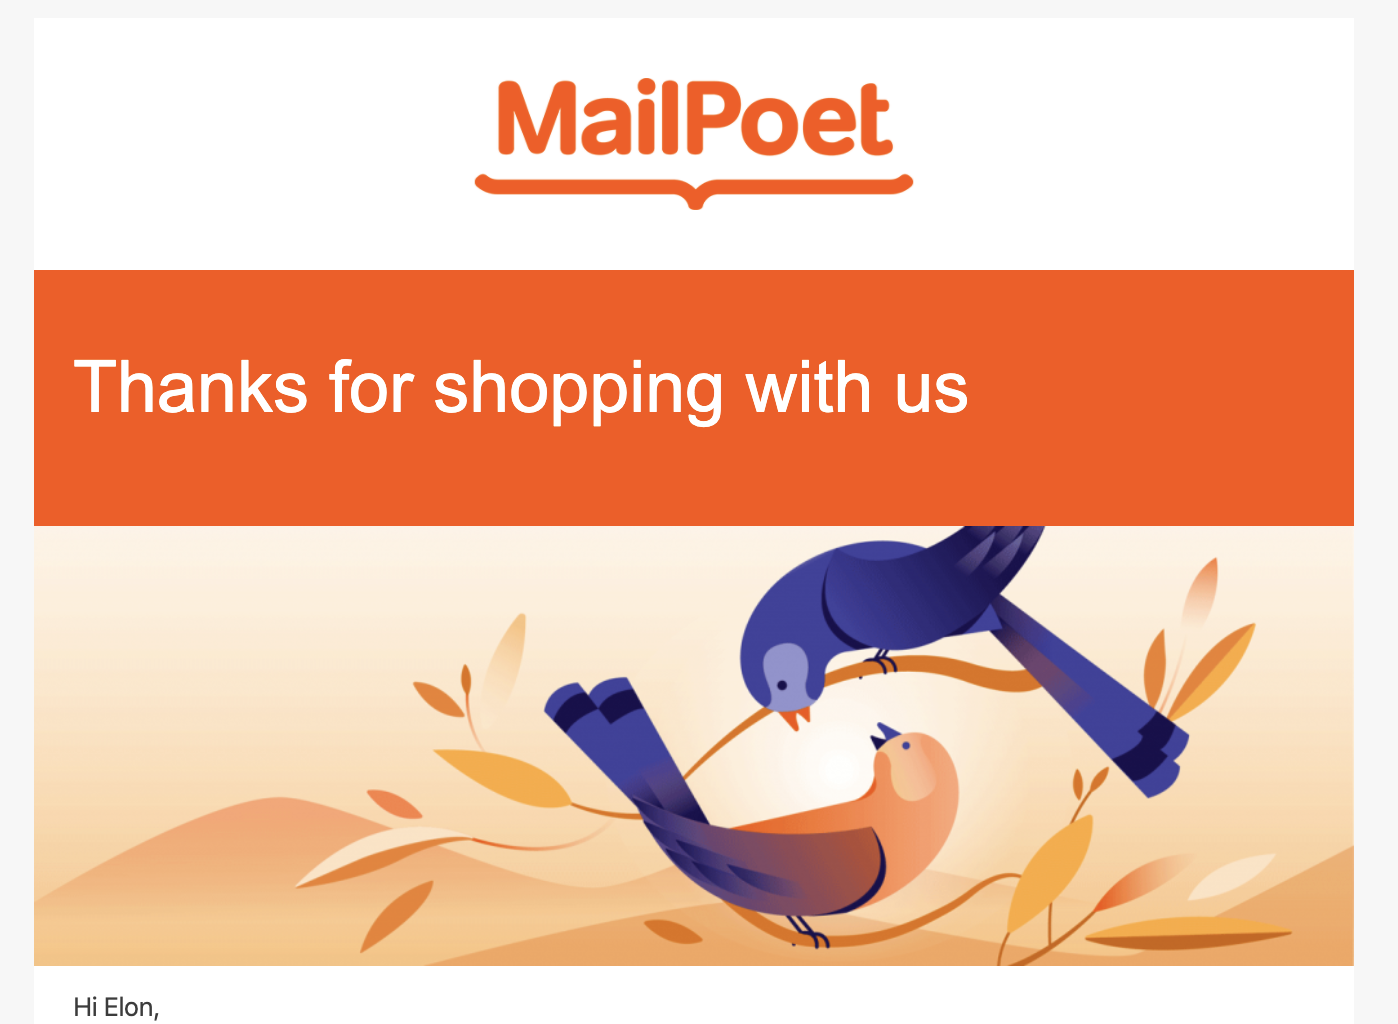
Beautiful!
WooCommerce store emails are a really good opportunity to give your customers a big thank you, whilst also generating some repeat custom.
You might already have a series of WooCommerce follow-up emails set up, but why not adopt some of these practices into your store emails?
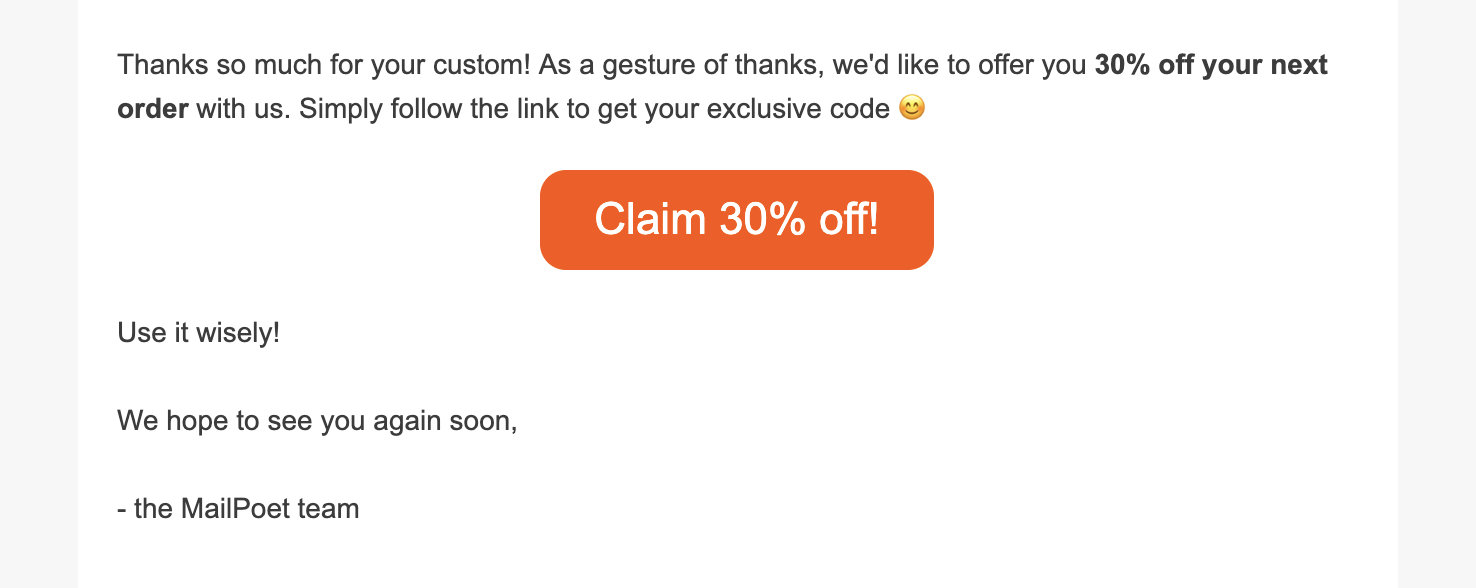
The Button widget can be used to direct customers to additional content they might find interesting. Why not experiment with one of the following:
- An exclusive offer
- Ongoing promotions
- Testimonials
- A link and phone number to support
- Your money-back guarantee policy.
Now that I’m happy with the styling, I’m going to move onto editing the copy used in the primary content area.
Step 4. Editing your WooCommerce email copy
A beautiful email is worth nothing without engaging copy. Fortunately, there’s a way to change this so that it’s on-par with the excellent email design you just produced.
I’ll be stepping out of MailPoet for this section, and into WooCommerce.
In the WordPress dashboard, head to WooCommerce > Settings > Emails.
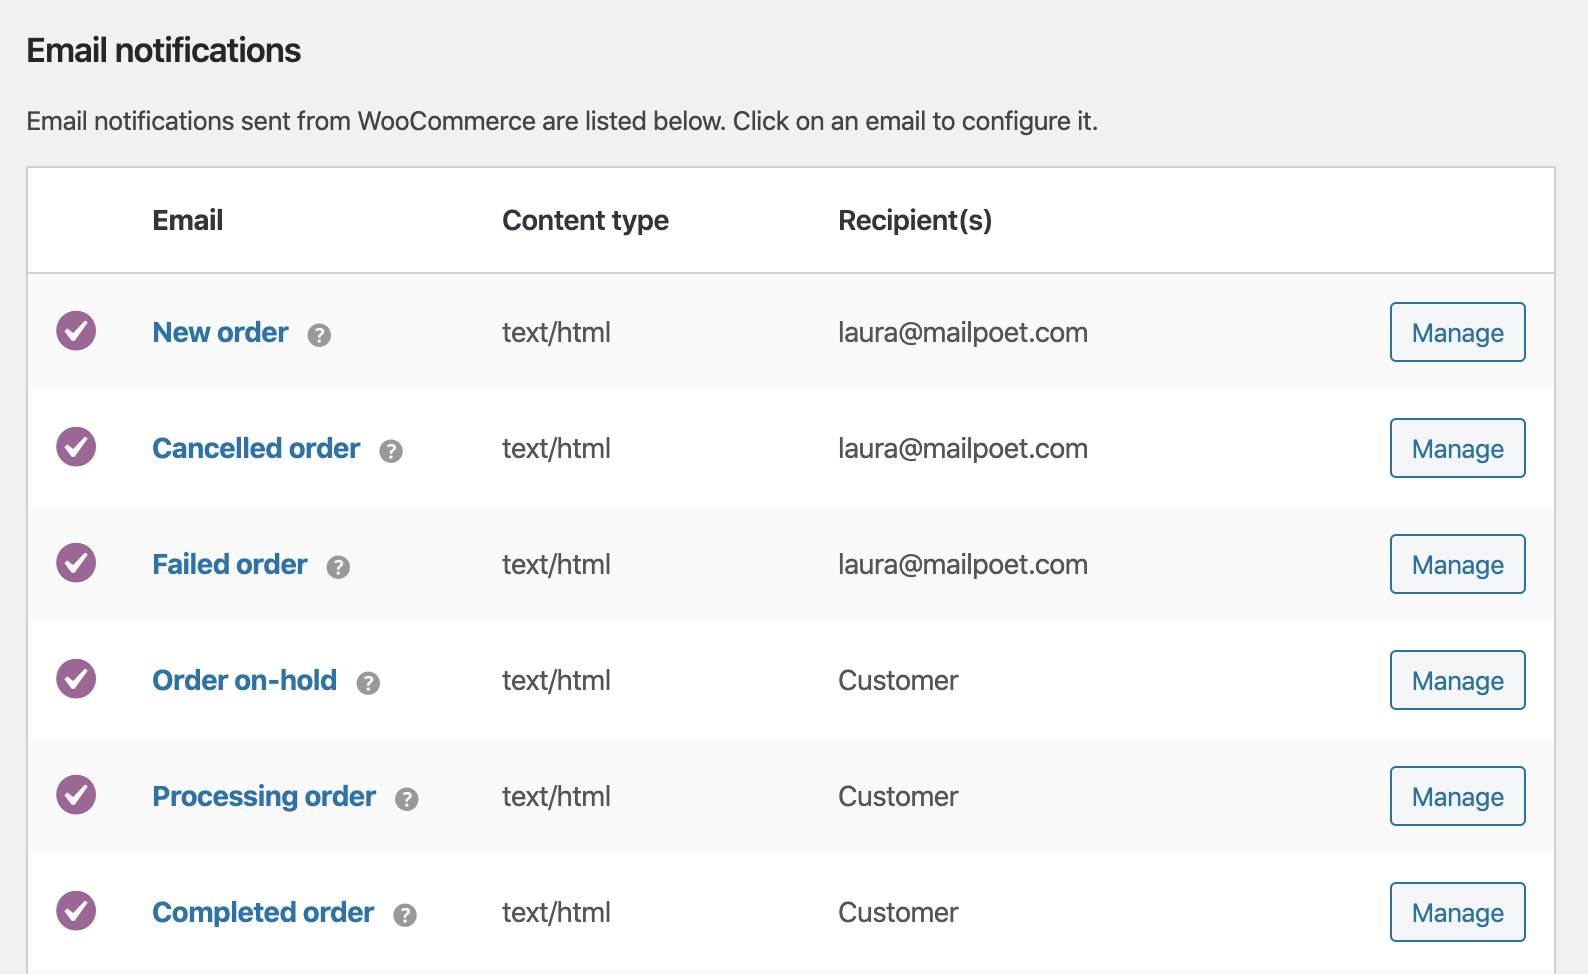
You’ll be presented with the full list of store emails WooCommerce sends out on your behalf.
Find the email you’d like to edit and click “Manage”.

Here you’ll be able to change the subject line, email heading, and edit the additional content that appears at the bottom of the primary email content area.
Now, if you want to change the copy that sits within the primary email content area, you’re going to need to get a bit geeky.
If you’re not comfortable with tweaking code and files, we strongly recommend getting the help of a web developer to do this. We recommend speaking to the fine folks at Codeable (affiliate link).
Grab the email template from: “woocommerce/templates/emails/customer-completed-order.php” (or whichever email you want from the /emails/ folder).
Then copy that across to your child themes folder, whose path would be something like:
“generatepress-child/woocommerce/emails/customer-completed-order.php”
This will then override the core WooCommerce template using your text instead of the default. Please don’t place your template in your parent theme, as it’ll be overwritten on a theme update.
Wrapping up
Using MailPoet’s WooCommerce email customizer, transforming your store emails from bland to on-brand is a breeze.
In as little as 15 minutes you should have an email template to be proud of, that’ll delight and engage your customers. And while editing the text isn’t a walk in the park, thanks to WooCommerce’s use of templating it shouldn’t be too much hassle.
If you’re interested in taking a look at the other WooCommerce email customizer solutions out there, make sure you check out our review of the top customization plugins.
And in case you missed it, MailPoet can now handle the sending of your WooCommerce store emails 🎉. Experience better email deliverability with our transactional email sending service.
Get started with a free MailPoet Starter plan today!
We’d love to hear how you’re getting on with our WooCommerce email customizer! Let us know in the comments, or share your handy work with us on Twitter!


Excellent
Thanks
Hi Laura, I’m having a couple of problems when using Mailpoet for automated emails. If I use Mailpoet the email from desktop and mobile gets out of order, if I don’t use everything goes back to normal. How can I do?